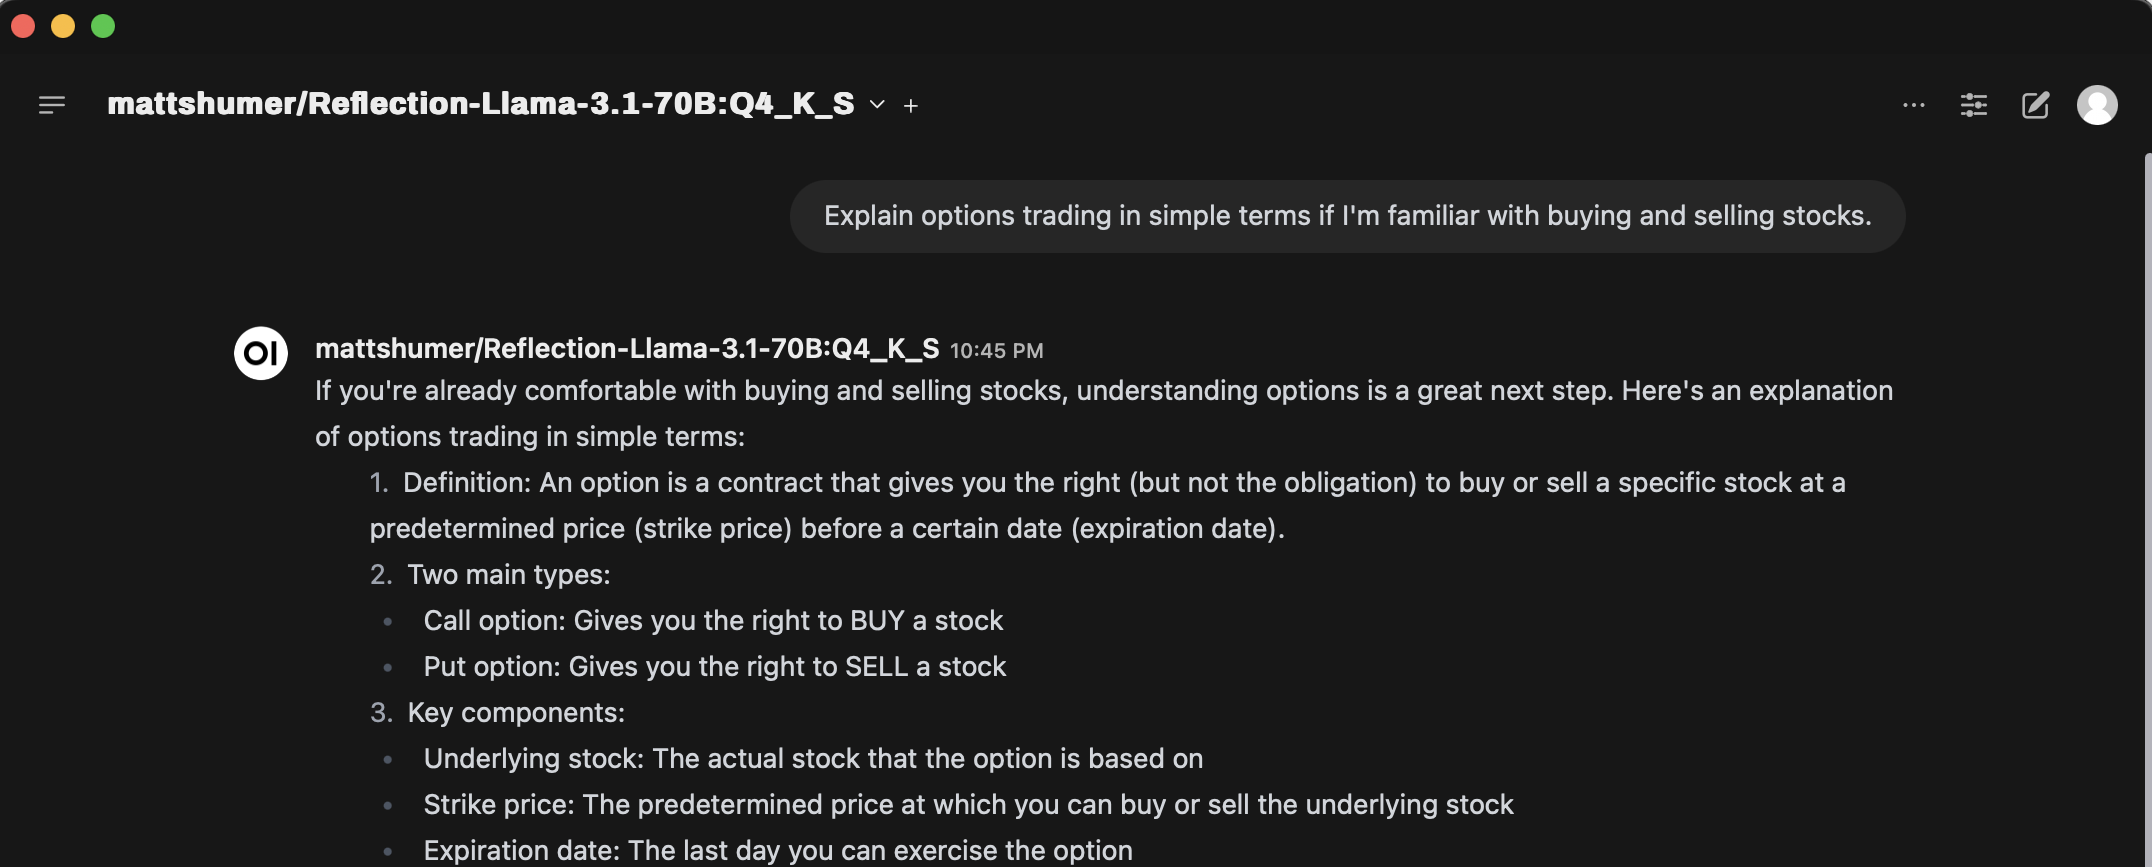
OpenWebUI is a self-hosted UI for interacting with various LLM models, both on-device and in the cloud. I use it as my primary method of interacting with LLMs due to its wide variety of models, ability to keep data local with locally deployed models, and extensive features. I've set it up along with Tailscale on my homelab so my family can access it with their own logins, maintaining their conversation history and settings.
Recently, I stumbled upon Storm from Stanford, a tool that uses LLMs and Search to generate long Wiki-like articles. It's useful for my personal workflows by providing a jumping point for deeper research. I aimed to bring this functionality to OpenWebUI, so I began exploring Pipelines.
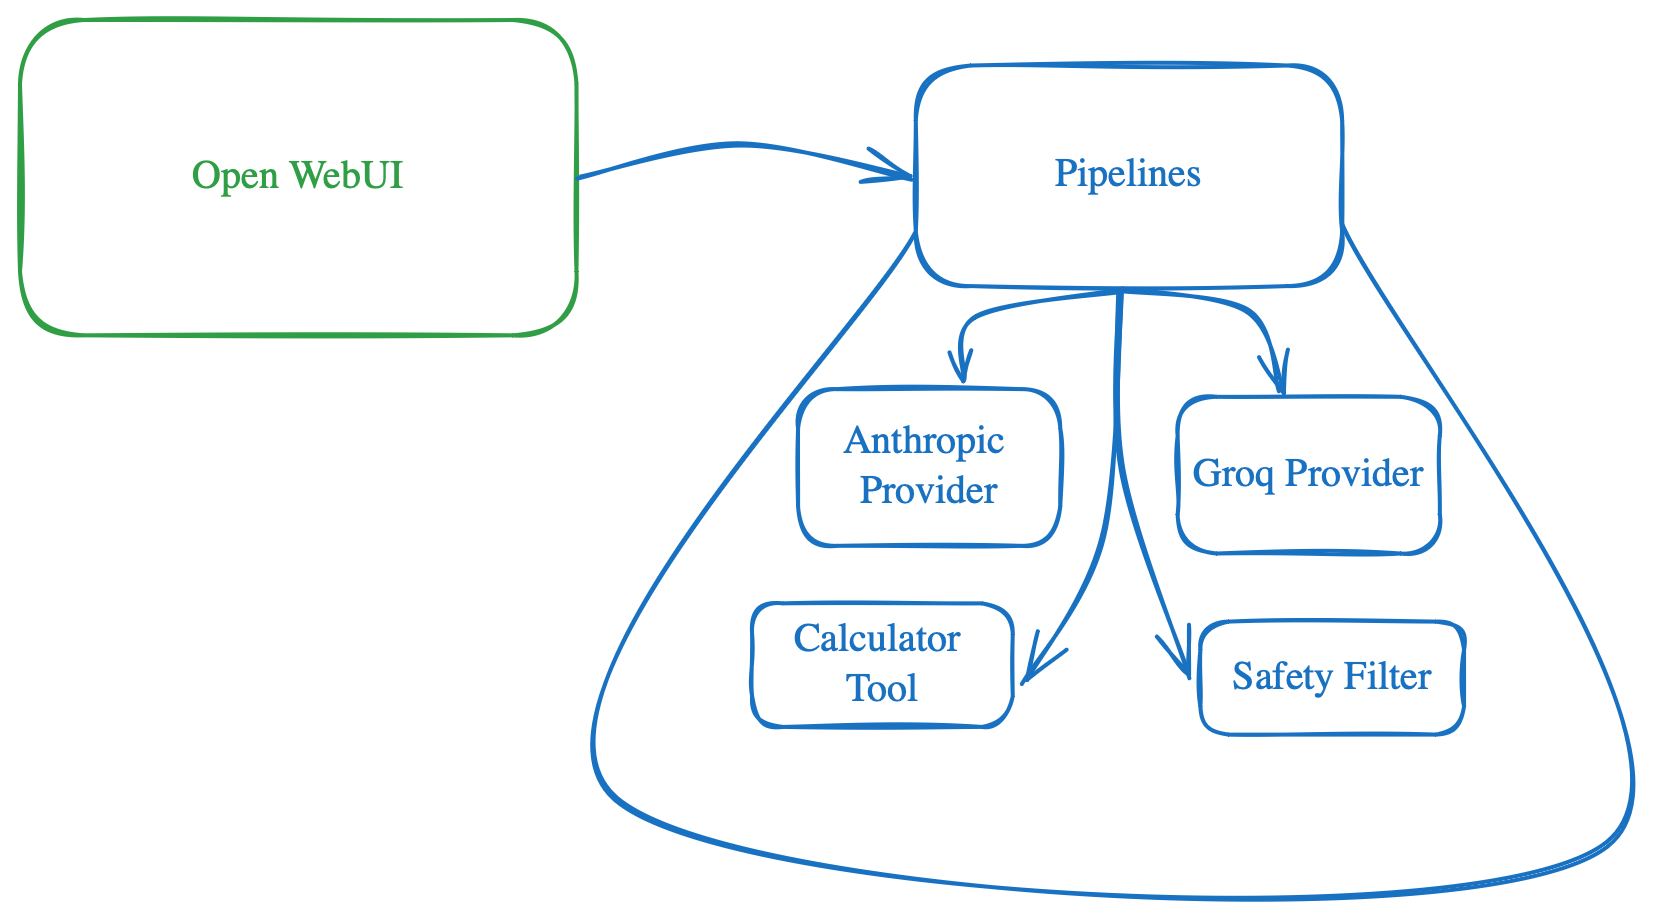
Pipelines serve as the mechanism in OpenWebUI to extend its capabilities. Unfortunately, they are still not well-documented, which led me to dig into the code, scratch my head, and debug to integrate Storm finally. I hope this post serves as an introductory guide for anyone trying to do the same, saving you a few hours of head-scratching.

Valves
Briefly Valves is the mechanism for configuring your pipeline. This is the mechanism for user to change something about your pipeline e.g. if you want to get some API_KEY then that will be a Valve, if you want some value from user which will change your pipeline behavior then that will also be a Valve. The admin can see and update all these values from the OpenWebUI settings.

Pipelines
Following are different type of pipelines you can create
Filter
Filter pipelines allows you to intercept the user request/message before it goes to LLM model and also after the response comes from LLM model but before its sent to users. This is what can allow various scenarios such as
- RAG to fetch more context and put it into the message to LLM to use.
- Tools that gets executed and adds any context for LLM
- Prompt injection filter to catch them before LLM gets to respond
- Safety filters e.g. using Meta LLamaGuard before user request is answered
How I like to think of this is that if I want to do something before or after LLM is called then I would create a Filter pipeline.

Here is what a filter pipeline would look like
from typing import List, Optional
from pydantic import BaseModel
from schemas import OpenAIChatMessage


class Pipeline:
    class Valves(BaseModel):
        # List target pipeline ids (models) that this filter will be connected to.
        # If you want to connect this filter to all pipelines, you can set pipelines to ["*"]
        pipelines: List[str] = []

        # Assign a priority level to the filter pipeline.
        # The priority level determines the order in which the filter pipelines are executed.
        # The lower the number, the higher the priority.
        priority: int = 0

        # Add your custom parameters/configuration here e.g. API_KEY that you want user to configure etc.
        pass

    def __init__(self):
        self.type = "filter"
        self.name = "Filter"
        self.valves = self.Valves(**{"pipelines": ["*"]})

        pass

    async def on_startup(self):
        # This function is called when the server is started.
        print(f"on_startup:{__name__}")
        pass

    async def on_shutdown(self):
        # This function is called when the server is stopped.
        print(f"on_shutdown:{__name__}")
        pass

    async def inlet(self, body: dict, user: Optional[dict] = None) -> dict:
        # This filter is applied to the form data BEFORE it is sent to the LLM API.
        print(f"inlet:{__name__}")

        return body

    async def outlet(self, body: dict, user: Optional[dict] = None) -> dict:
    	This filter is applied to the form data AFTER it is sent to the LLM API.
        print(f"outlet:{__name__}")
You intercept the messages using the body that is passed in. It contains all the information e.g. messages which contains the message history. You can use utility methods such as get_last_user_message, get_last_assistant_message to get latest messages, do something with them and update the corresponding message content and return back the whole body with the updated messages e.g.
....
from utils.pipelines.main import get_last_user_message, get_last_assistant_message

class Pipeline:
	...

    async def inlet(self, body: dict, user: Optional[dict] = None) -> dict:
        messages = body.get("messages", [])
        user_message = get_last_user_message(messages)

        if user_message is not None:
            # Do something

            for message in reversed(messages):
                if message["role"] == "user":
                    message["content"] = "UPDATED CORRESPONDING CONTENT THAT LLM WILL USE"
                    break

        body = {**body, "messages": messages}
        return body

    async def outlet(self, body: dict, user: Optional[dict] = None) -> dict:
    	messages = body["messages"]
        assistant_message = get_last_assistant_message(messages)

	if assistant_message is not None:
            # Do something

            for message in reversed(messages):
                if message["role"] == "assistant":
                message["content"] = "UPDATED CORRESPONDING CONTENT THAT USER WILL SEE"
                break

        body = {**body, "messages": messages}
        return body
Images are also passed in as part of message so check for "images" in message to get the Base64 encoded images and you can then use that to do any kind of image processing you want.
Tools
Tools are special type of filters where a particular tool is selected based on its description and what the user has asked for e.g. if user asks math question and you want it to actually calculate instead of just hallucinating the answer then Calculator Tool will be the way to go. To create Tools your Pipeline needs to inherit from FunctionCallingBlueprint as it implements the inlet part of filter to do function calling.
import os
import requests
from typing import Literal, List, Optional
from datetime import datetime


from blueprints.function_calling_blueprint import Pipeline as FunctionCallingBlueprint


class Pipeline(FunctionCallingBlueprint):
    class Valves(FunctionCallingBlueprint.Valves):
        # Add your custom parameters/configuration here e.g. API_KEY that you want user to configure etc.
        pass

    class Tools:
        def __init__(self, pipeline) -> None:
            self.pipeline = pipeline

        def calculator(self, equation: str) -> str:
            """
            Calculate the result of an equation.

            :param equation: The equation to calculate.
            """

            try:
                result = eval(equation)
                return f"{equation} = {result}"
            except Exception as e:
                print(e)
                return "Invalid equation"

    def __init__(self):
        super().__init__()
        self.name = "My Calculator Tool Pipeline"
        self.valves = self.Valves(
            **{
                **self.valves.model_dump(),
                "pipelines": ["*"],  # Connect to all pipelines
            },
        )
        self.tools = self.Tools(self)
In above example if you don't want a function in Tools class to be used then prefix it with __ e.g. __helper_function_to_do_something. If you setup a Valve e.g. to get some configuration from user then you can access it in tool as self.pipeline.valves.CUSTOM_PARAM, though in my experience I was able to access it when function was invoked but not in Tools.__init__ as in that case the value was still None for those Valves.
If you are also wondering that which model is used for figuring out the Tool, then the FunctionCallingBlueprint creates a Valve called TASK_MODEL which is used to figure out which function/tool to call. You can update it to whatever you want from the Settings in OpenWebUI if you don't prefer the default.
Pipe

This is when you want to take over what happens when user uses chat in OpenWebUI. The "pipe" pipeline allows you to integrate new LLM providers, build workflows that takes the user message and respond, complete RAG system that does retrieval and also generation using the LLM you want.
Basically if you want to take over what happens when user sends a request then you will implement the "pipe" function.
class Pipeline:

    class Valves(BaseModel):
        pass

    def __init__(self):
        self.valves = self.Valves()

    async def on_startup(self):
        print(f"on_startup:{__name__}")
        pass

    async def on_shutdown(self):
        print(f"on_shutdown:{__name__}")
        pass

    def pipe(
        self, user_message: str, model_id: str, messages: List[dict], body: dict
    ) -> Union[str, Generator, Iterator]:

        return "HERE IS THE RESPONSE"
In the scenario I was trying to implement, I opted for this as I wanted to integrate the Stanford Storm Wiki which basically takes a topic, makes multiple calls to LLM to research the topic and create outline and finally write Wiki like article on it.
Manifold
Manifold is a special type of "pipe" Pipeline as it allows user to select specific model. Various LLM integration in OpenWebUI such as Anthropic, Groq uses this as they also tell OpenWebUI the list of models. So if you want to implement a new LLM provider then it likely will be a manifold
class Pipeline:
	...
    def __init__(self):
    	self.type = "manifold"
        ...

    def pipelines(self) -> List[dict]:
    	return ["model-1", "model-2"]

    def pipe(
        self, user_message: str, model_id: str, messages: List[dict], body: dict
    ) -> Union[str, Generator, Iterator]:

        # Here use the `model_id` that user picked
        pass
How to add more PIP dependencies
As the pipeline runs in its own docker which may not have the python package you need. In that case you can specific the requirements in the start of file using the front-matter specification. This can involve description, name, author etc. Along with that you can also specific comma separate "requirements" which will be used to install any new dependencies.
"""
title: Filter Pipeline
author: open-webui
date: 2024-05-30
version: 1.1
license: MIT
description: Example of a filter pipeline that can be used to edit the form data before it is sent to LLM API.
requirements: requests
"""

class Pipeline:
...Other Tips
- If you install the pipeline through OpenWebUI, it won't throw any error if it failed to add the pipeline due to dependency issue or code issue. The way I found to debug that is to get the logs from the running docker
docker logs -f container_name- Look at various examples in the pipelines repo to see whats the closest scenario to what you are trying to build. Use that as the starting point and edit those.


