A guide to using Python with Supabase securely
With the recent advances in Large Language Models and a lot of the innovation happening in regards to that in Python, it's becoming more advantageous to use Python not only for research purpose but also for building products that end users will use.
In the realm of JavaScript and Frontend, Supabase has been getting a great deal of traction as a Firebase alternative. It provides multiple services that you can use to build a whole SaaS product with the authentication, Postgres, Storage services it provides. It also has edge functions that leverage Deno but that means you'll be in the JavaScript ecosystem or move over to WASM.
What do you do if you need Python service as part of your stack and want an authenticated service so you can do operations at a user level?
You can deploy Python service to your favorite cloud infra (Fly.io, Digital Ocean etc.) and use JWT (JSON Web Tokens) to validate authenticated requests. This way you can continue leverage Supabase capabilities and also Python when you need it. In this tutorial we will see how to setup such a service.
What is JWT
JWT (JSON Web Token) is a compact, self-contained way to represent information securely between two parties.
A JWT consists of three parts: the Header, the Payload, and the Signature.
Header: Describes the type of the token and the algorithm used for encryption.
- Example:
{"alg": "HS256", "typ": "JWT"}
Payload: Contains the 'claims', which are statements about the user. This is where you can add further information you need in your service.
- Example:
{"sub": "123", "name": "John", "admin": true}
Signature: Ensures that the message hasn't been changed. Computed as follows:
HMACSHA256(base64UrlEncode(header) + "." + base64UrlEncode(payload), secret)
The same Secret that is used to create the signature is also used to validate the secret on the other end.
How it matters in our case is that Supabase generates JWT token using the Secret. We can deploy the same Secret to our Python service and then when we get the JWT token in our Python API, we can re-compute the signature and validate it's the same. If it is same then it means the token was created by trusted party.
BEWARE: If your Secret gets compromised then the person/s can decode and create any JWT token to compromise your service. So handle it with same care as passwords e.g. don't make it part of code, don't store it openly etc.
Python Service
I'll be using FastAPI with Fly.io but you can use whatever cloud platform you are comfortable with to deploy a Python service.
Lets have a service that will just output the user full name if authenticated and we will go over the details of how it is implemented.
from fastapi import FastAPI, Depends
from typing import Annotated

from models import User
from auth import  ValidUserFromJWT

app = FastAPI()

@app.get('/name')
async def name(user: Annotated[User, Depends(ValidUserFromJWT())]):

    return Response(
    	content={"full_name": user.full_name},
        media_type="application/json")
Here the key is user: Annotated[User, Depends(ValidUserFromJWT())], as that will validate the JWT and get the user from the Database and assign it to user. So, by the time the function body is executed it means the request was authenticated and you can trust the request.
Unpacking ValidUserFromJWT
from fastapi import Request, HTTPException
from fastapi.security import HTTPBearer, HTTPAuthorizationCredentials

class ValidUserFromJWT:
    def __init__(self):
        pass

    async def __call__(self, request: Request):
        credentials: HTTPAuthorizationCredentials = await HTTPBearer()(request)
        if credentials:
            if not credentials.scheme == "Bearer":
                raise HTTPException(status_code=403, detail="Invalid authentication scheme.")
            if not verify_jwt(credentials.credentials):
                raise HTTPException(status_code=403, detail="Invalid token or expired token.")
            user = get_user_from_JWT(credentials.credentials)
            if not user:
                raise HTTPException(status_code=403, detail="Invalid token")

            return user
        else:
            raise HTTPException(status_code=403, detail="Invalid authorization code.")
How the token is passed in the request is using the following header
Authorization: Bearer TOKEN...
Here the await HTTP Bearer(request) extracts this information and then we check
- If the token is of type
Bearer verify_jwt: Verify the token is validget_user_from_JWT: Get the user corresponding to the token from Database
If any of those checks fail then we respond back with a HTTP Status code 4xx to let the caller know that something went wrong.
Following is what the verify_jwt looks like
import time
from typing import Dict

import jwt
from decouple import config


JWT_SECRET = config("JWT_SECRET")
JWT_ALGORITHM = "HS256"

def verify_jwt(jwtoken: str) -> bool:
    isTokenValid: bool = False

    try:
        payload = decodeJWT(jwtoken)
    except:
        payload = None
    if payload:
        isTokenValid = True
    return isTokenValid

 def decodeJWT(token: str) -> Dict:
    try:
        decoded_token = jwt.decode(token, JWT_SECRET, algorithms=[JWT_ALGORITHM], options={"verify_aud": False})
        return decoded_token if decoded_token["exp"] >= time.time() else None
    except Exception as e:
        return {}
Here we use the jwt python library that helps us do the validation so we don't have to build our own logic. For it to work you need to do the following
- Deploy
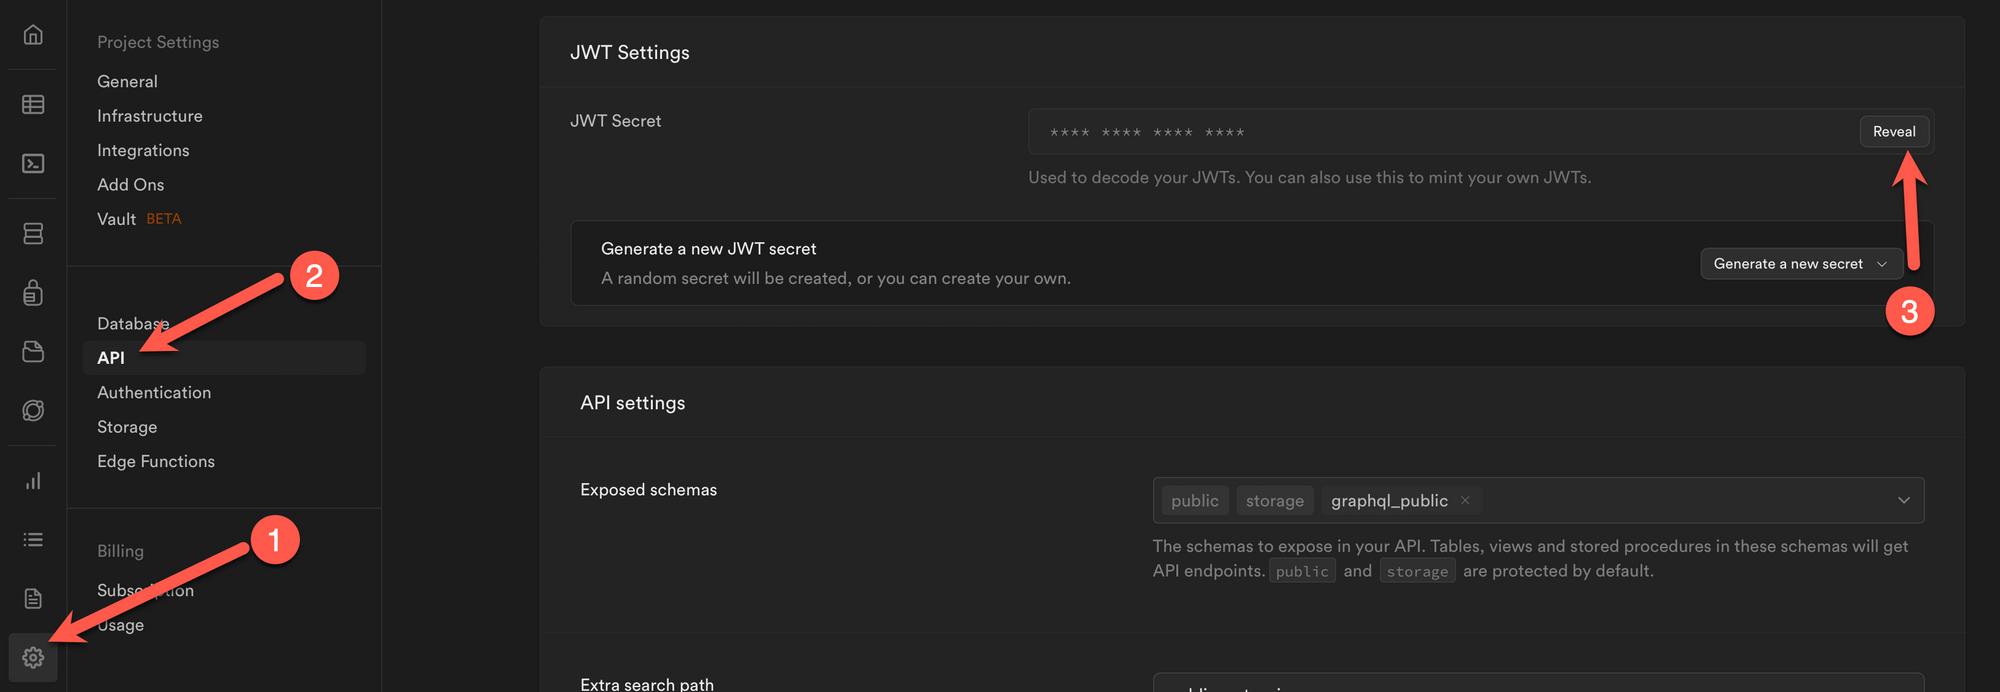
JWT_SECRETas an environment variable to your service so you can access it from code. You can find the token from your Supabase dashboard.
2. Ensure the Algorithm used is the same one that Supabase used. In my testing, it is by default set to "HS256"
Here the code validates the token and then makes sure the token isn't expired. Once we decode the token successfully, we get the payload which is described here and it looks something like following
{
  "aud": "authenticated",
  "exp": 1615824388,
  "sub": "0334744a-f2a2-4aba-8c8a-6e748f62a172",
  "email": "[email protected]",
  "app_metadata": {
    "provider": "email"
  },
  "user_metadata": null,
  "role": "authenticated"
}
Here sub is the id of the user, so now you can use that to fetch the user from the database. I use Peewee as the ORM to make it easier for me to interact with database in Python.
def get_user_from_JWT(token: str) -> User | None:
    payload = decodeJWT(token)
    user_id = payload["sub"]

    if user_id is not None:
        try:
        	# Get the user from database with the user id
            return User.get(User.id == user_id)
        except:
            return None

    return None
As this tutorial is not about Peewee so I won't be diving into it but following is what the simple models look like.
from peewee import UUIDField, TextField, ForeignKeyField, PostgresqlDatabase, Model
from uuid import UUID

db: PostgresqlDatabase = connect(DB_CONNECTION_STRING)
db.connect()

class BaseModel(Model):
    class Meta:
        database = db

# The authentication table created by Supabase
class AuthUser(BaseModel):
    id = UUIDField(primary_key=True)

    class Meta:
        table_name = "auth.users"

# Your User table that links to the auth table
class User(BaseModel):
    id = UUIDField(primary_key=True, constraints=[ForeignKeyField(AuthUser, field='id')])
    full_name = TextField(null=True)

    class Meta:
        table_name = 'users'

    @staticmethod
    def get_user_with_id(id: UUID):
        return User.get(User.id == id)
Now onto how to call your service from your Next.js Supabase front end.
BEWARE: As the Peewee won't do any row level security here so you should make sure whenever you are fetch database rows to filter it down to ones that only user has access to.
Calling your Python service from Next.js
I'm using the nextjs-subscription-payments bootstrap project to setup my initial Supabase. Once you have that then you can get the user session, if they are logged in, and get the token to make a call to your service. Here is an example.
import { getSession } from '@/app/supabase-server';
import { redirect } from 'next/navigation';

export const dynamic = 'force-dynamic';

export default async function UserInfo() {
  const session = await getSession();

  const user = session?.user;

  if (!session) {
    return redirect('/signin');
  }

  return <UserName accessToken={session.access_token} />
}
Here we first get the user sessions, if there is none then it means user hasn't been signed in, so we redirect them to signin page. If the user is signed in, then the JWT token is available in session.access_token which we will use to make the service call.
'use client';

import { useEffect, useState } from 'react';
import { getEdgeServiceURL } from '@/utils/helpers';

export default function UserName({
  accessToken
}: {
  accessToken: string;
}) {

  const [fullName, setFullName] = useState<string>("Loading...");

  useEffect(() => {
  	callService(accessToken).then(resp => {
    	if (resp === null) {
        	setFullName("Error calling service");
        } else {
        	setFullName(resp.full_name);
        }
    });
  }, [accessToken]);

  return <div>{fullName}</div>
}

async function callService(accessToken: string) {
    const url = `${getEdgeServiceURL()}/name`;
    const headers = {
      Authorization: `Bearer ${accessToken}`
    };

    // Fetch with Bearer token in headers
    const response = await fetch(url, {
      method: 'GET',
      headers: headers
    });

    // Check for successful response
    if (!response.ok) {
      return null;
    }

    // Return JSON
    return await response.json();
}
This is a client side component so when it's rendered we make a service call, passing the access token in headers and then once we get a successful response we get the full_name from the returned JSON.
Conclusion
This is how you can setup a Python service which validates the token so you can do user level operations securely and build your AI/LLM services that you can use in your Next.js front end.
