3D Printed Micro Quadcopter
Why create a quadcopter? Just for the fun of it and to understand the mechanics behind it. I was always fascinated with planes when I was a kid, wondering how a piece of metal can just stay in the air and move around. I tried creating my RC plane with a styrofoam and some junk motor I found from one of my broken toys, but it never worked as the motor wasnt good, the frame of the plane was not even fine too but this never stopped me experimenting with other materials. Then I tried creating ornithopter but that failed too. Now I am in the position of buying the right components and have the resources to build (print in my case) the frame and try, this time it succeeded. With everything going on from Amazon to DHL, it seems like the quadcopter or multirotors are going to be part of the future for better or worse.
Lets start with how to create an RC quadcopter. Following is the list of components that are needed
- Flight control board Hobbyking KK2.0 flight board
- Four Turnigy 1811 2900kv
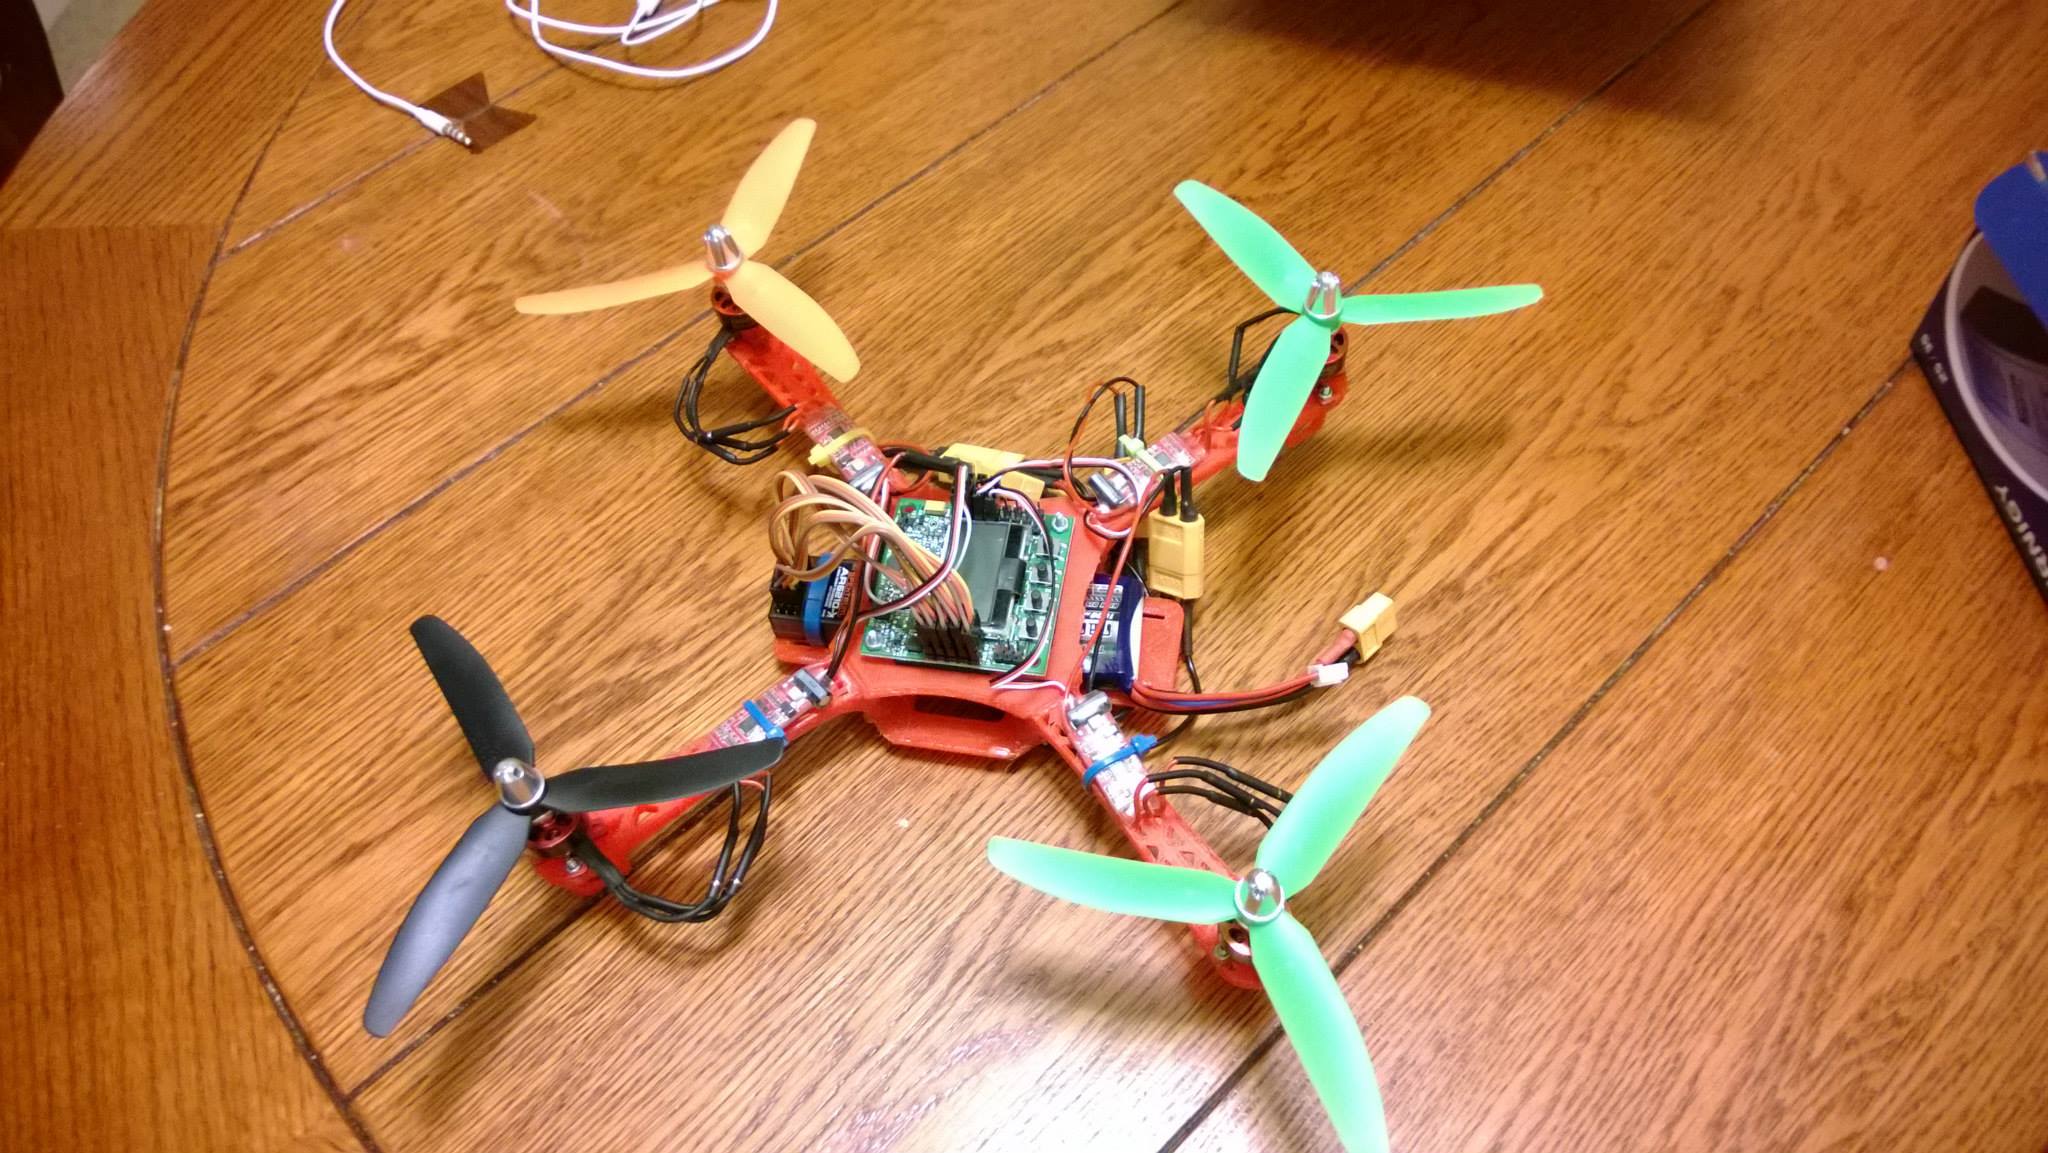
- Two regular propellers 5030, two reverse propellers 5030R. Always get extra propellers because they break easily
- Four Turnigy plush 6A ESC (electronic speed controller)
- Atleast 4 channel RC receiver and transmitter, i used Spektrum Dx6i which is a 6 channel RC transmitter and a compatible DSMX receiver which came with it. If you want to get into RC hobby then buying a good transmitter is a good idea
- 5 Male to male servo lead JR 26
- Turnigy nanotech 1000mah Li-Po battery
- Turnigy 2s 3s balance charger
- 22 AWG black and red wire to create power harness
- XT60 male and female connectors for creating the power harness
- Frame for the micro quadcopter. 3D Frame
- Zip wires and screws
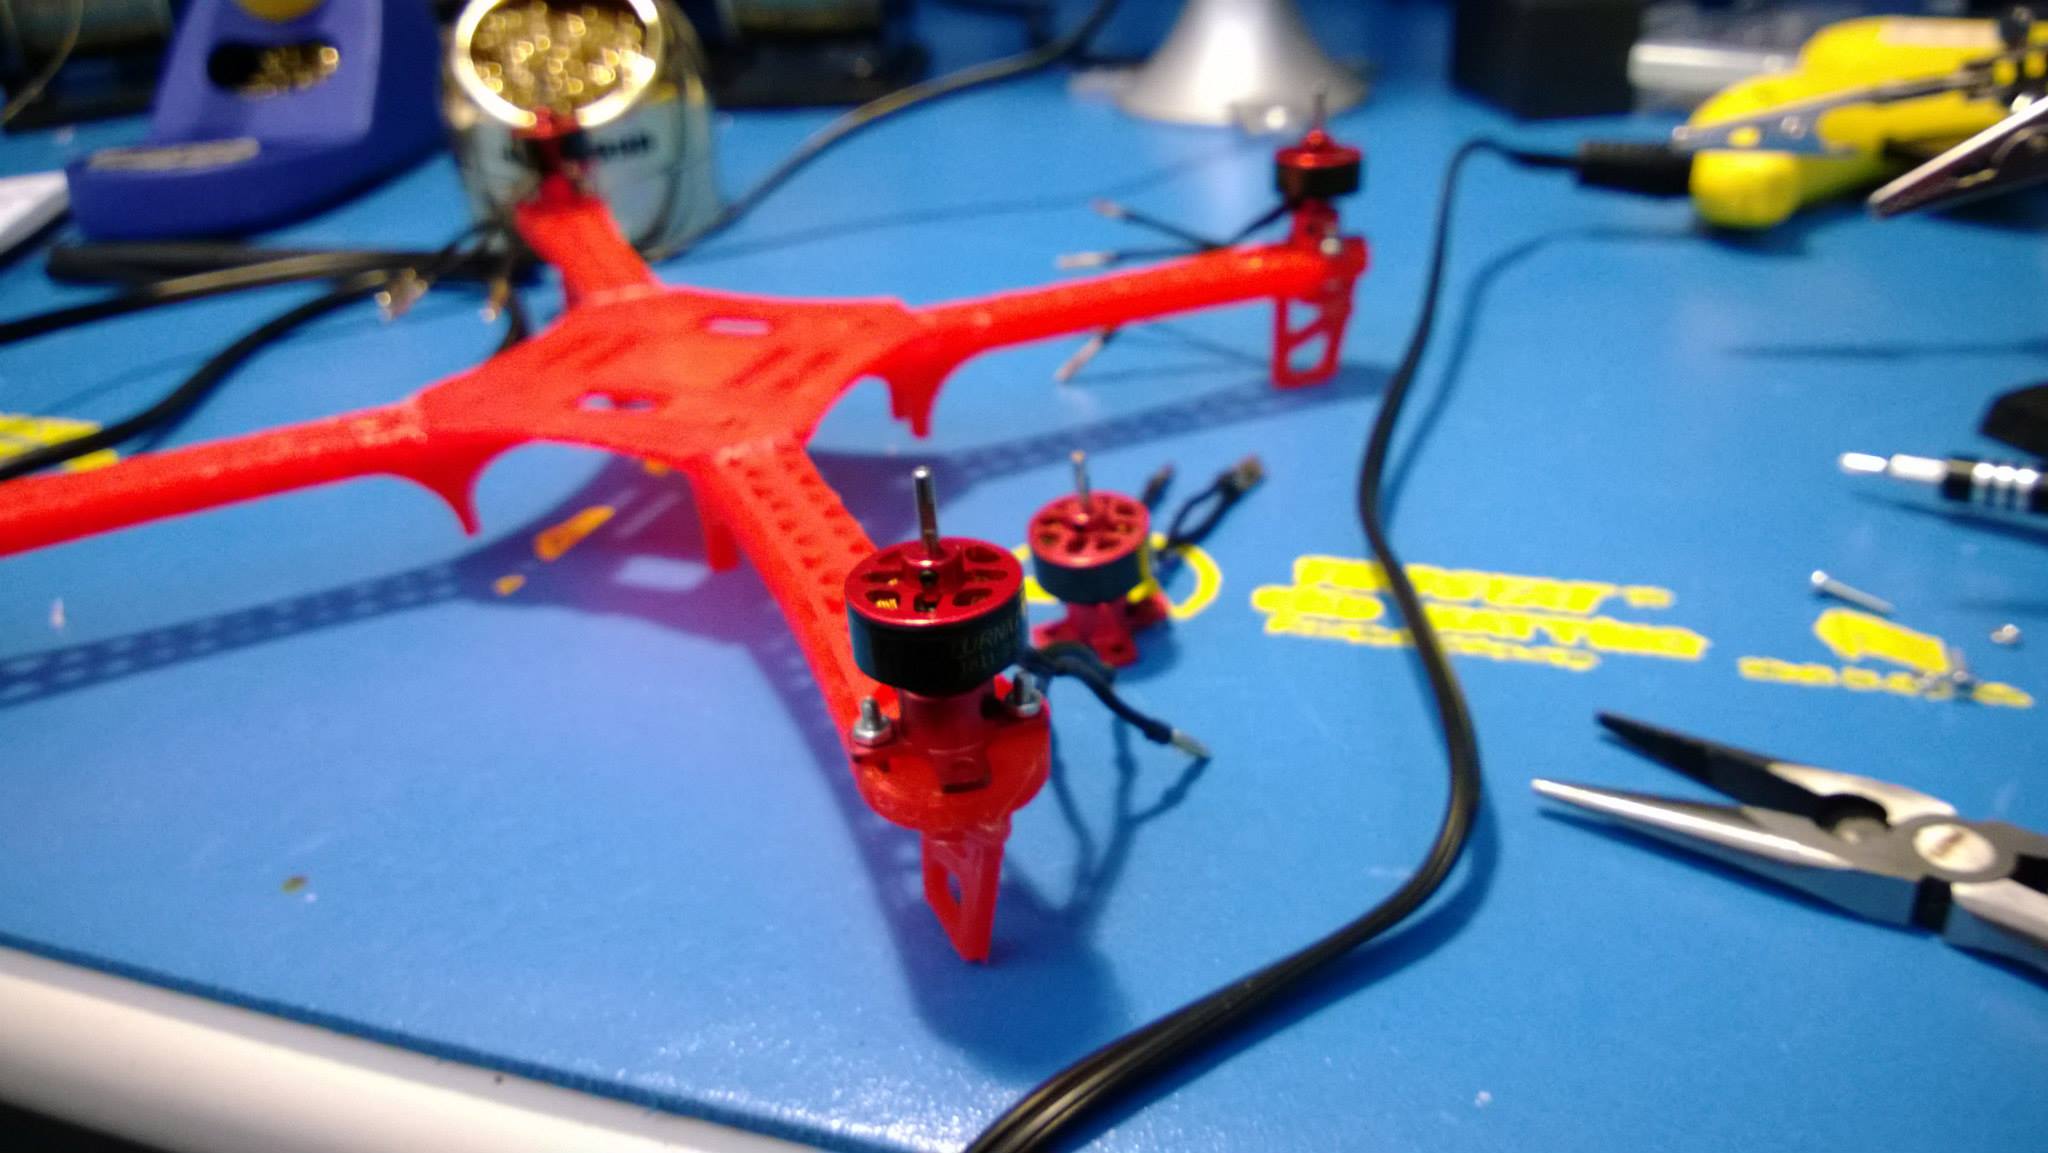
I 3D printed the frame, it was not strong enough as it survived only 2 crashes and then broke. I'm still experimenting with different fills to make a stronger frame. You also need solderring iron to solder different wires.
Start with soldering the motors with the male end points it came with and also solder the female end points with the ESCs, this will allow you to easily change motors and ESCs and different wiring configuration. Also use the provided heatsinks to insulate the endpoints.
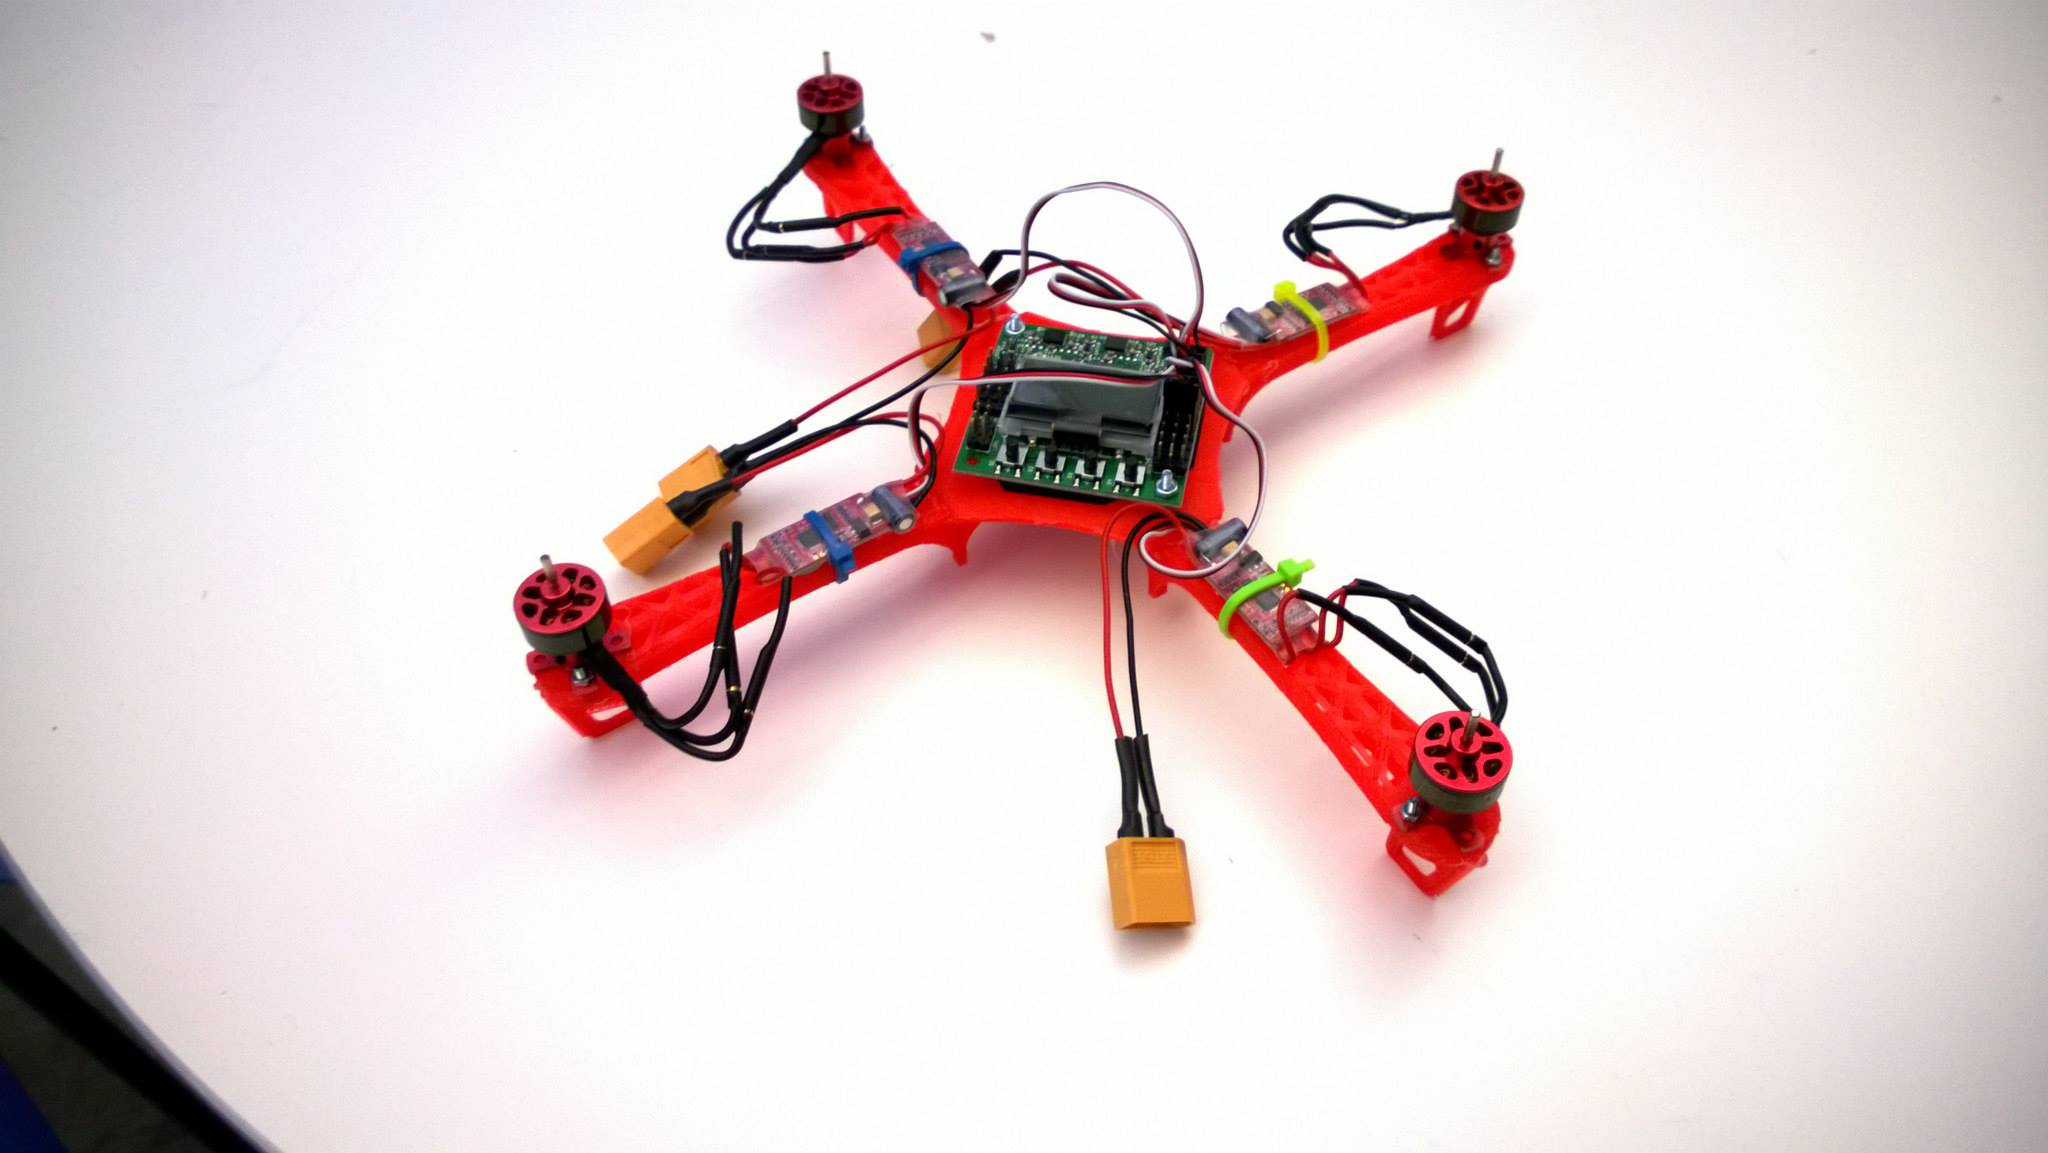
Now screw the motors on the frame. Attach the ESCs at an appropriate distance on the arms using the zip wires and see that the wires will not get in the way of the propeller.
Create the power harness which is used to distribute power form battery to the ESC, this requires some soldering. Attach the 22 awg wires to four XT60 male connectors. Solder the power wire of the ESC with the female XT60. Then the wires coming from the male XT60 solder altogether to one XT60 female connector. You will have power harness that connects from the battery to all the ESCs power wires.
Now you need to put the flight control board on the frame, use the foam in which the KK2.0 flight board came to put it between the flight board and the frame, use screws to fix the flight board with the frame, dont screw to tight. Connect the servo leads to the RC receiver and then attach the receiver to the frame using zip wire and make sure that it's at a distance where the wires can connect to the flight board. The information about which wire goes where can be gotten from the KK 2.0 manual, e.g. Throttle wire of receiver should go to throttle wire of the flight board etc.
Connect the ESCs to the flight board and remember that the black wire should be facing outwards while connecting to the board otherwise it can damage your flight board or the ESC. The order of the wires matter. Connect it as follows
- Top Left -> M1
- Top Right -> M2
- Bottom Right -> M3
- Bottom Left -> M4
Attach the battery to the bottom of the frame with zip wire and keep in mind that battery would occasionaly be removed for charging and replace with recharged battery, you should either keep the zip wire a little loose so that you can take the battery out by a little force or you can cut and put new zip wire everytime you attach a batter. Connect the powerharness with the power wires of all the ESCs and dont connect the main power line to the battery yet. Don't connect the propellers yet, you have to setup the flight board and callibrate the ESCs, use this guide to do that.
Remember the rotation of the motors should be according to the settings of the flight board if its not the same then you can reverse the direction of the motor by setting it in you RC transmitter. Attach the propellers as follows
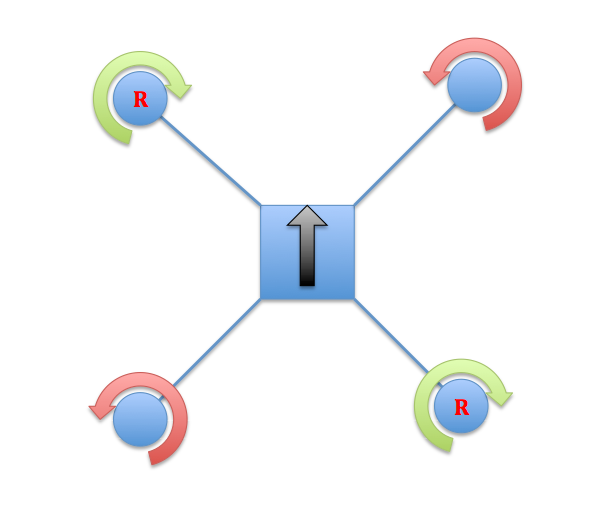
Here R means the reverse propeller(5030R) and the others are normal propellers(5030). The black arrow indicates the forward direction of the flight board.
Now arm you'r flight board and gradually increase the throttle, you will see the quad getting up in the air. Success !!!
Beware to fly the quad in an open area and away from people. I'm not to be held responsible for any damaged caused by following this guide.
Where to go from here? You can get the arduino based flight control and replace the KK board with that and you can have a smart quad which you can program and do a lot of stuff. Its up to you where you wana go now.
If you have any question you can contact me @zabirauf
