Setting up continuous integration for F# Suave app to Azure
Whenever I start a project I tend to have a continuous build and deployment pipeline setup as it makes the development and testing a lot more easier.
In this tutorial we are going to take a look at how to setup a continuous building and deployment pipeline for a F# Suave service using Visual Studio Team Services (VSTS) and using Github as the repository hosting service.
Setup continuous building
Lets first create a simple Hello World Suave application using Ionide and then setup a continuous build where we will use FAKE as our build automation system.
1- Create Suave application
Make sure you have Visual Studio Code with Ionide plugin installed.
We will use Ionide to create our project. Go ahead and create a directory e.g. ~/Projects/SuaveCI and open it in VSCode. Open the Command Palette using ⌘⇧P and search for F#: New Project and create the project with the name SuaveCI.

Let's add Suave dependency. Open the paket.dependencies and make sure it looks like as follow
source https://www.nuget.org/api/v2
nuget FAKE
nuget FSharp.Core
nuget Suave
Let's also add Suave to SuaveCI/paket.references which will take care of adding the dependencies references in your .fsproj.
Let's build a simple web app using Suave that outputs some HTML. Edit SuaveCI/SuaveCI.fs as follows
This is pretty simple if you are already familiar with Suave. We just get the PORT from the command line argument and start the server at that port else we start with port 8080. There is only one route for main page which prints the current time.
For Azure web application create a .deployment file and add the following to it
[config]
command = build.cmd
Also create web.config file and add the following
<?xml version="1.0" encoding="UTF-8"?>
<configuration>
  <system.webServer>
    <handlers>
      <remove name="httpplatformhandler" />
      <add name="httpplatformhandler" path="*" verb="*" modules="httpPlatformHandler" resourceType="Unspecified"/>
    </handlers>
    <httpPlatform stdoutLogEnabled="true" stdoutLogFile=".\suave.log" startupTimeLimit="20" processPath="%HOME%\site\wwwroot\SuaveCI.exe" arguments="%HTTP_PLATFORM_PORT%"/>
  </system.webServer>
</configuration>
Make sure the processPath matches the name of your application. In this configuration we tell Azure that whenever a request comes to it then route it to the process mentioned in this configuration which will be our Suave application.
Now the last thing is to make sure that this gets copied over to the build directory when build.cmd is ran. Make change in build.fsx under build to add the following
Target "Build" (fun _ ->
    // compile all projects below src/app/
    MSBuildDebug buildDir "Build" appReferences
    |> Log "AppBuild-Output: "

    CopyFile buildDir "./.deployment"
    CopyFile buildDir "./web.config"
)
Make sure to also add .paket\* in your repository. Lets push it to a Github repository
2- Link Github to VSTS
The first thing we need to do is to link our Github repository to VSTS. So go ahead to VSTS and create a new project. Next do the following
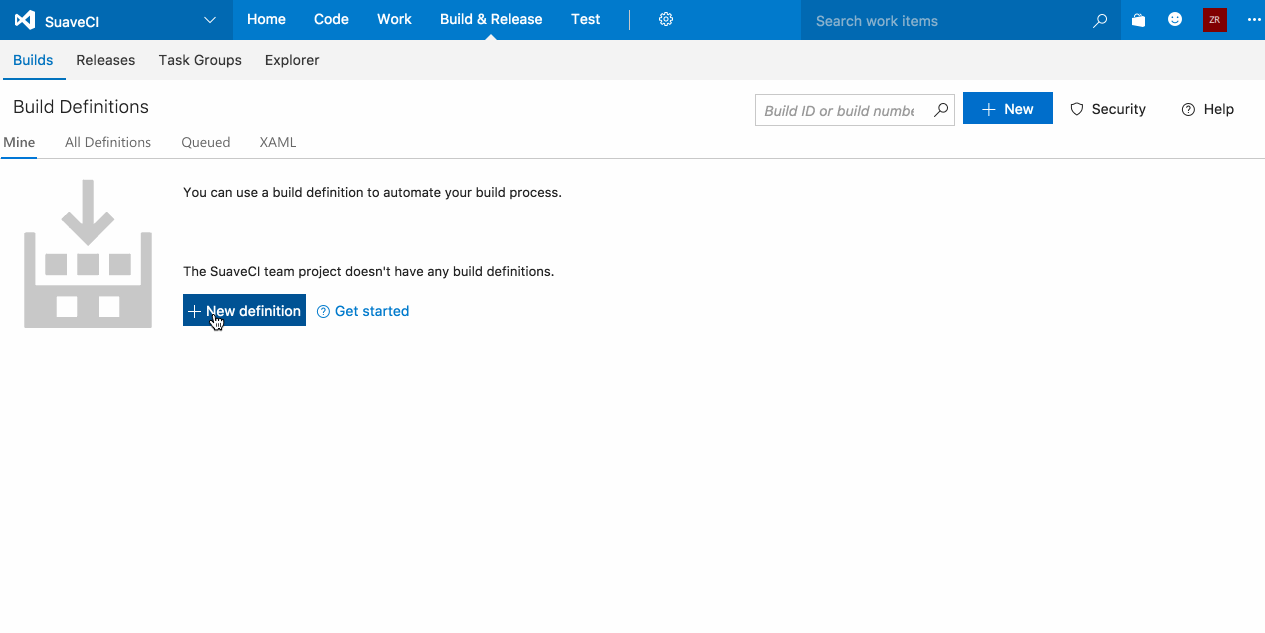
1- Go to Builds from Build & Release dropdown
2- Create a new build definition. Select Empty definition as we don't want to use any template and then Github. Make sure to check the Continuous Integration checkbox.
3- Go to Repository tab and then click Manage button in front of the Connection. This will navigate you to a page to setup service dependencies where we will connect to Github
4- Select Github from + New Service Endpoint and then authorize VSTS to connect to Github.
5- Go back to the original page in step 3 and then select your repository for which you want to setup CI and then Save.
3- Run build on check-in
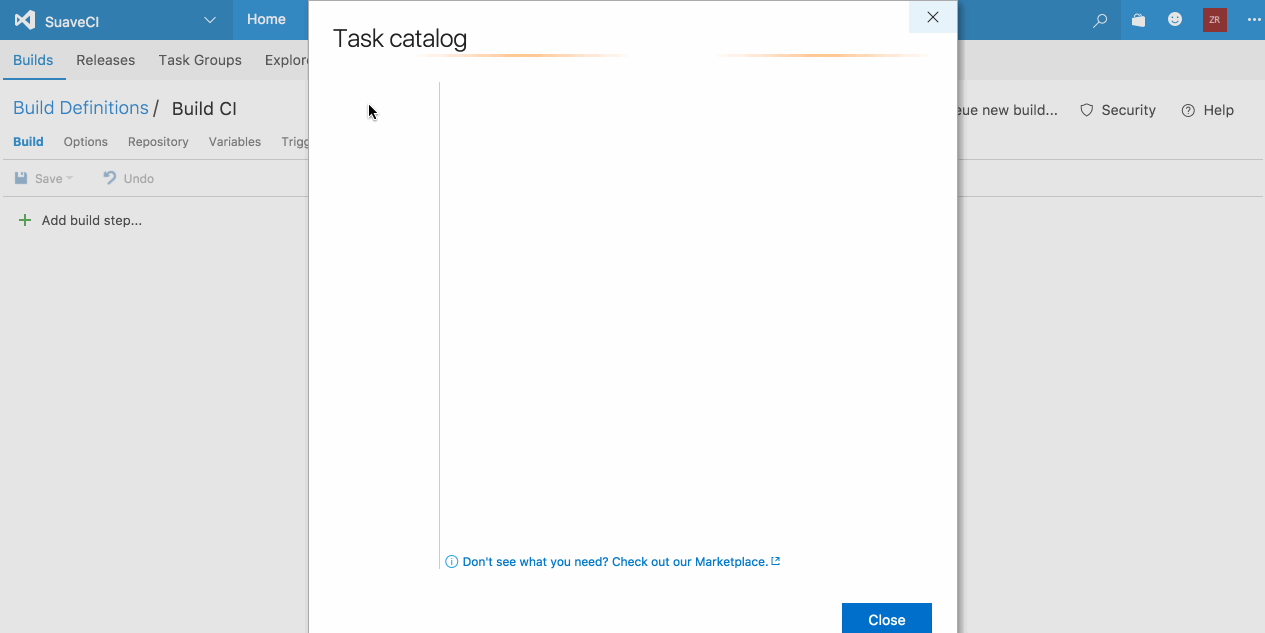
This step involved setting up the steps we need to build the F# project and also package the artifacts (the build) so that we can later deploy to Azure.
1- Add a Command Line and Copy and Publish artifacts build step.
2- In command line build step add build.cmd in path and deploy in the argument. This will do the build and then copy the build to the deploy folder
3- In the second build step set
- Copy Root to
$(Build.SourcesDirectory) - Contents to
deploy/*.zip - Artifact Name to
Deploy. It can be whatever you want - Artifact Type to
Server - Enable Always run
Now you have a continuous build setup which gets triggered whenever you push to your repository.
Setup continuous deployment
The first thing we need to do is to connect our Azure subscription to VSTS. Follow the instructions here to link Azure subscription to VSTS.
Once you are done with that we can setup the continuous deployment as follows:
1- Create a new release definition
2- Select Azure App Service Deployment template. In the next page select the Project and the Source from which to release. Make sure to select the Continuous deployment checkbox.
3- Select your Azure Subscription and the App Service (which you have already created in Azure) to deploy to. If the options don't populate then you can just write down the name of that App Service.
4- Fill in the App Service URL and then save your release definition.
You are done with the setup for continuous deployment. All you need to do is to commit to your repository and it will automatically do a build and deploy. You can also queue another build to trigger deployment.
Setting up this pipeline allows you to be more agile in developing and prototyping your application. If you are planning to use this pipeline for production then you might need to put more work into setting up staging and deploying only stable releases.
